Using the Files Tab
Being able to store files against individual records can be valuable for keeping track of documents, spreadsheets, or images that relate to your records and collections - this is enabled by the Files functionality in Kinabase.
This article will describe how to enable and use file storage against records in Kinabase using either Kinabase's Built-In File Storage or using Microsoft Sharepoint by linking your Kinabase environment with your Microsoft 365 account.
Enabling and Using Built-In File Storage
By default, Kinabase allows you to store files against records in your collections without requiring you to link to Microsoft Sharepoint. To enable file storage against records, you will need to create fields in your collection with a Files data type.
Creating File Fields
To create a File field, first navigate to the Collection Configuration page:
- Choose the collection that you want to configure from the navigation side-bar.
- Open the collection dropdown menu (…) in the top-right of the screen.
- Select Configure from the dropdown to take you to the Collection Configuration page.
- In the Fields pane of the collection configuration window you can see a list of all current fields within the collection you're currently viewing.
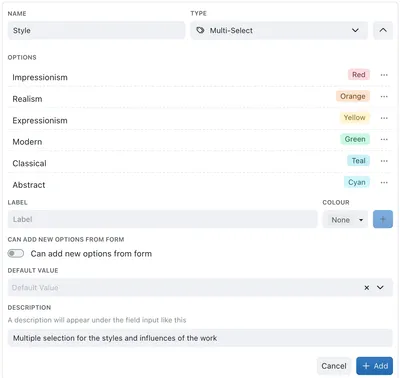
- To add a field, click the Add Field button and add the name and type, along with an optional description or default value.
- Once you've finished editing, click Add Field again and check again that all the details of your new field are correct.

The File data types are as follows:
- File to add a single file
- Files to add multiple files
- Image to add a single images
- Images to add multiple image
A detailed walkthrough for creating fields in Kinabase can be found here: Configure Fields.
Adding Files
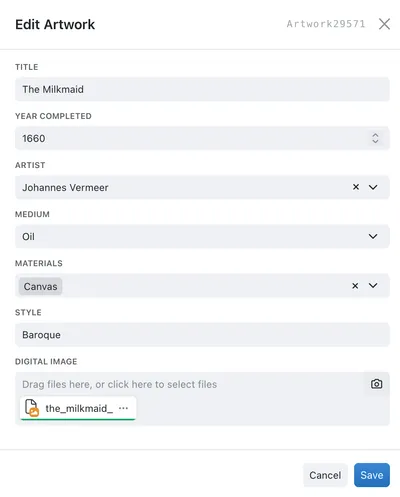
A file or image can be added to a record when either creating a new record, or editing an existing record. Note that the maximum file size for storage against a record is 5mb.

Enabling and using Sharepoint File Storage
As a component of the Microsoft 365 integrations for Kinabase, you can also enable file storage against records using Sharepoint. To enable sharepoint in Kinabase you must first link your Microsoft 365 account to your Kinabase environment - you can find a guide on how to do this here: Connecting to Microsoft 365.
Sharepoint does not have the same file size limitations that built-in storage has, so can be useful if your team uses large or image-intensive files.
Enabling Sharepoint
Once you have enabled Microsoft 365 in Kinabase, you can enable file storage using Sharepoint by first navigating to the settings menu:
- Click the Settings button at the bottom left of the navigation pane
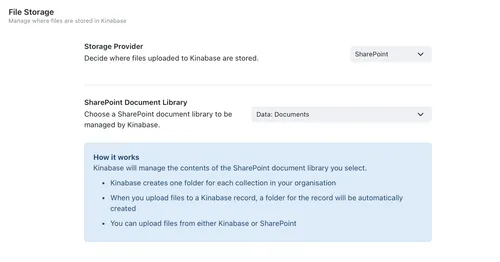
- Select the File Storage settings page from the page list
- Select Sharepoint from the dropdown menu to the right of the screen
- Select a sharepoint library that you wish Kinabase to use to store files.

Enabling File Storage for a Collection
Now that you've enabled file storage using sharepoint, we can now enable file storage within a specific collection. To do this:
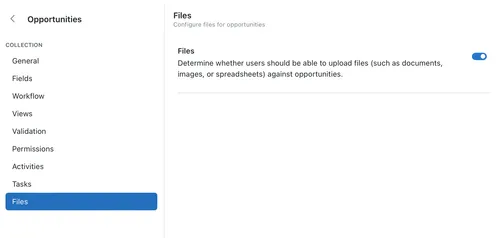
- First navigate to the collection configuration page for the collection you wish to edit by Right Clicking on the desired collection in the navigation pane, then selecting Configure
- Select the Files toggle to enable the Files Pane

Now when you select a record in this collection, you will see the option for the Files pane. Here you can see all files that are associated with this record, and by clicking the arrowed box icon in the top right corner you will be taken to the sharepoint page where these files are stored.
